Not quite a sizzle reel for the #handheld, but I’m going to start posting videos of games running on this thing. Again not sure how playable games will be over the course of a whole game start to finish but I’ve played each of these for about an hour and they’ve held up.
Category Archives: General
#PortableSteamMachine10
So I got DM’ed by a troll who claimed that since the #nintendoswitch can play #Skyrim I was really just wasting my time. Now he might be right (from a pure time perspective) but I’ve had fun making this…having said that…here’s some Skyrim since apparently for your #handheld to be “worth it” it’s got to play Skyrim. Started a new game, not sure how smooth it might be FPS wise later on but the intro wasn’t too bad. Note, video is sped up 200%. Sorry for the blue cast on everything, the lighting in my apt isn’t good for video.
#PortableSteamMachine 9
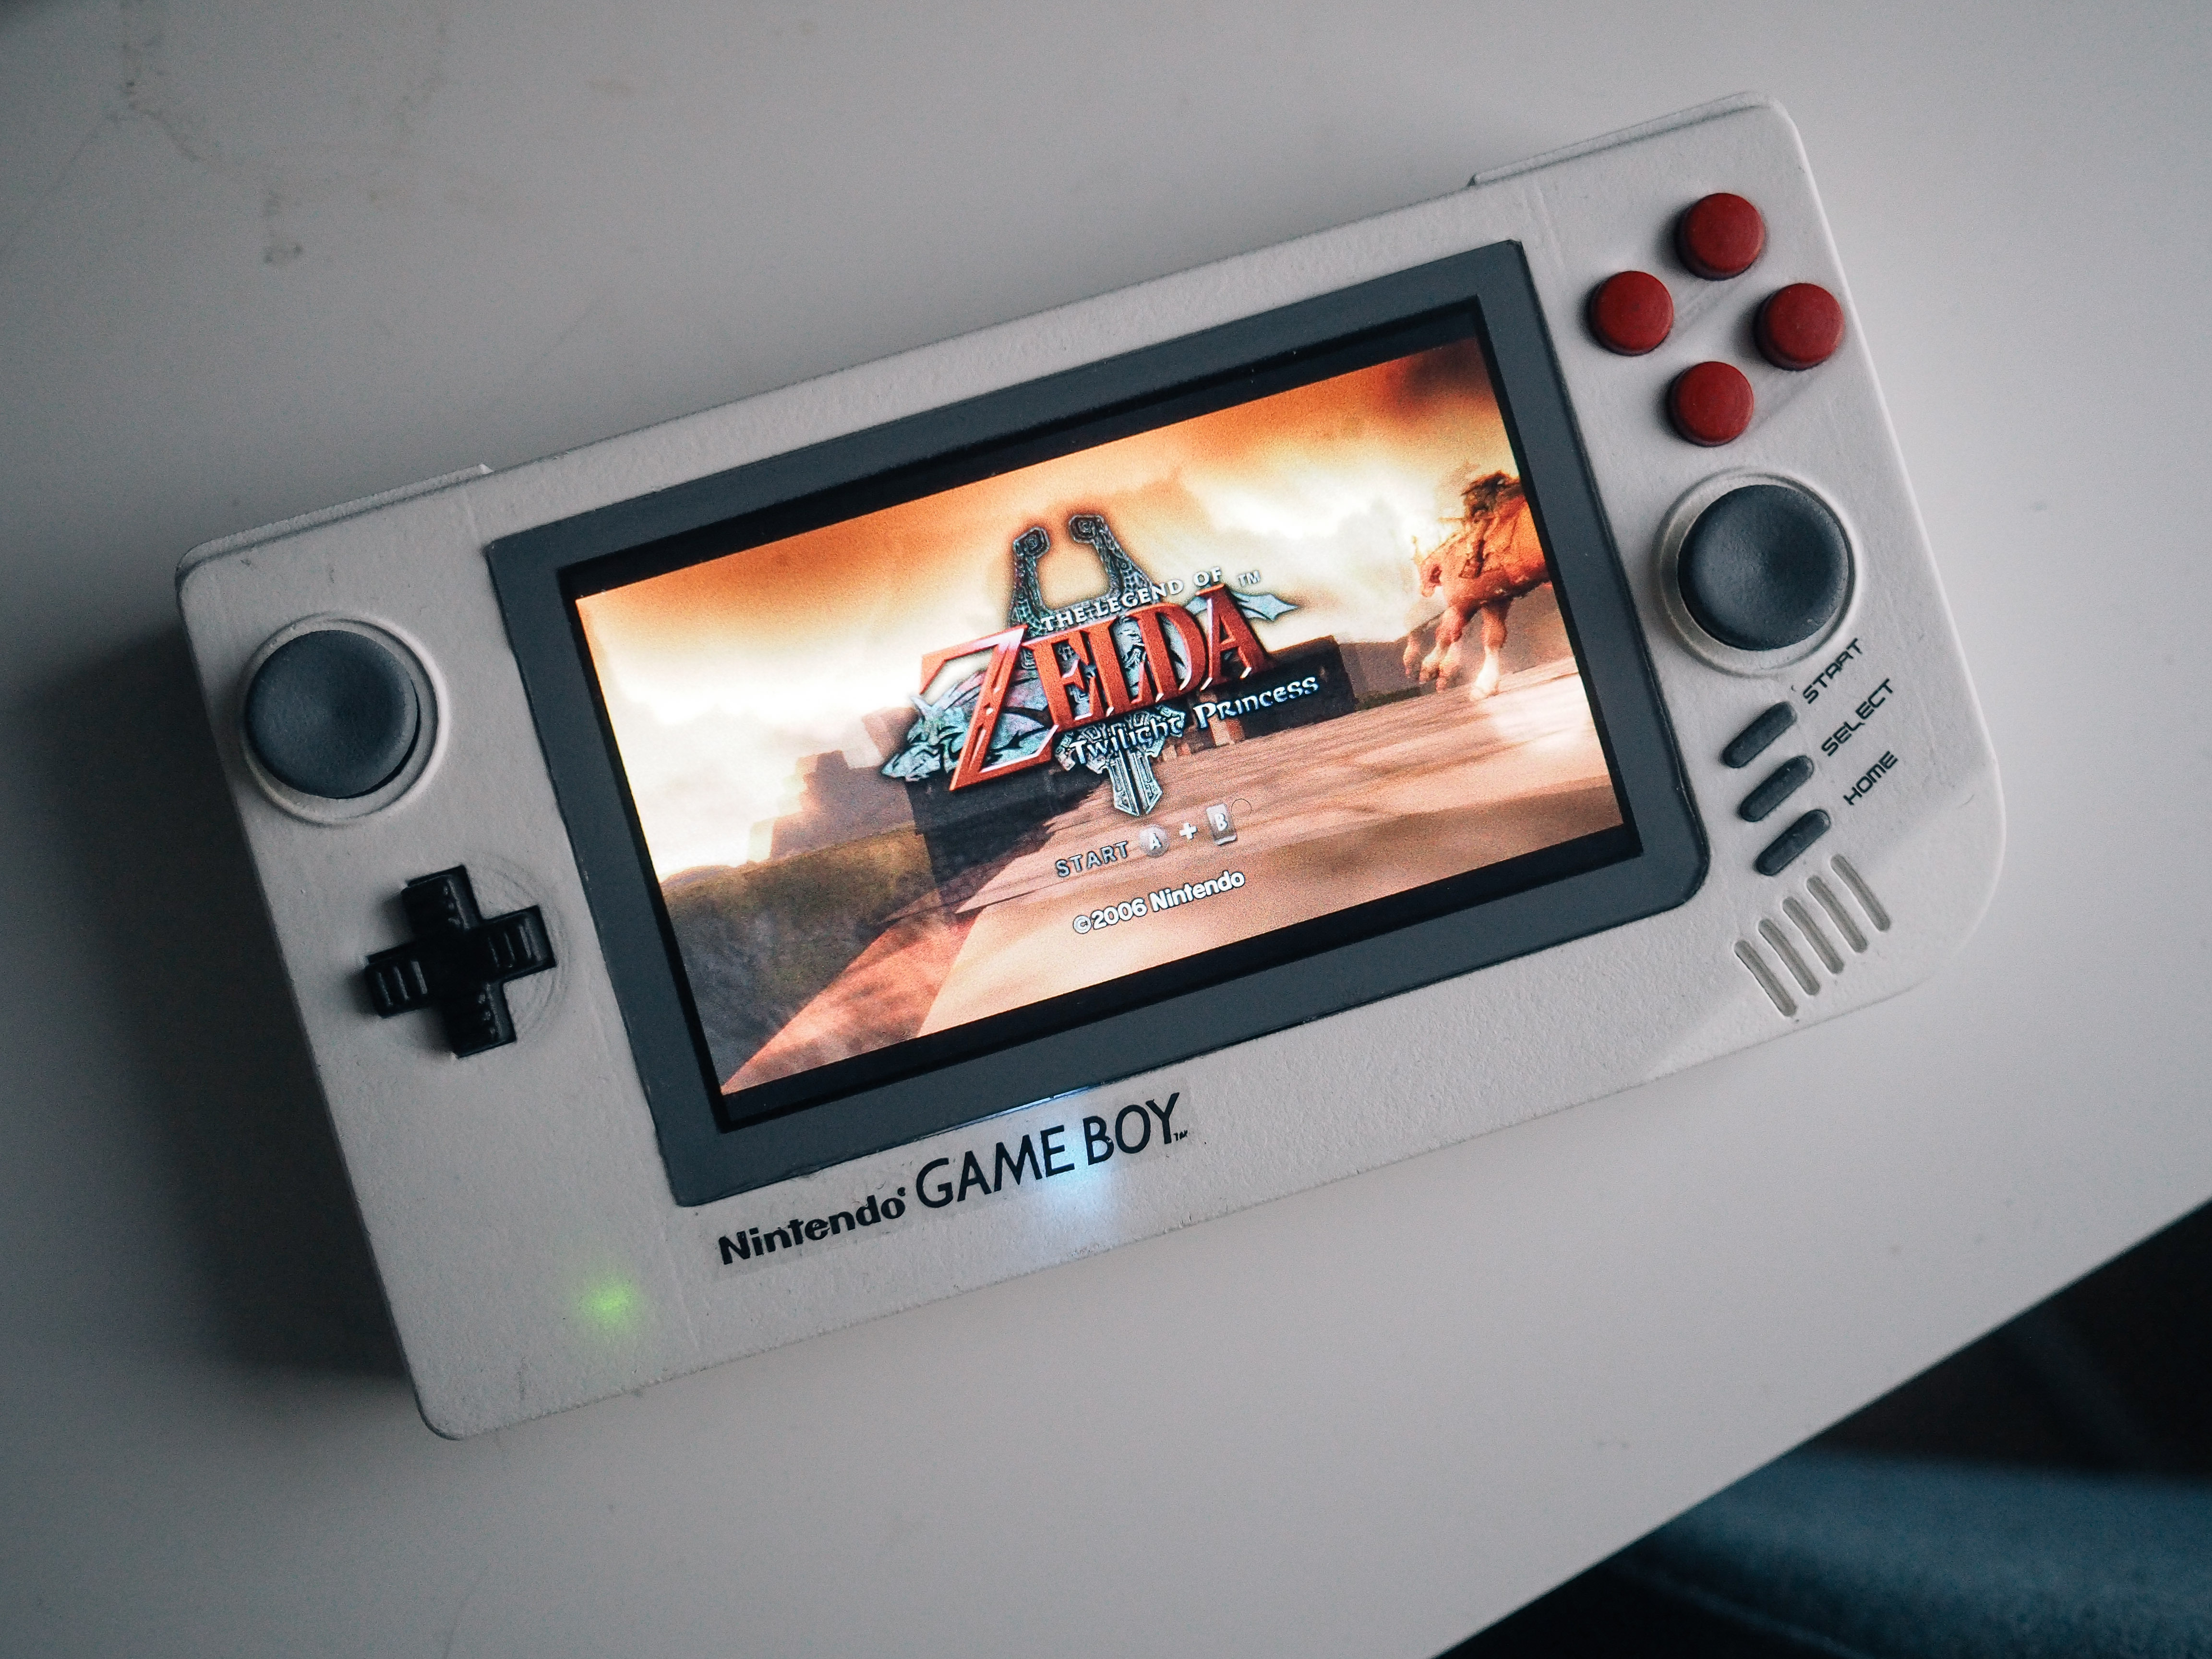
I figured a #Zelda shot was long overdue…(even though wii emulation isn’t a feat)
TLDR; got done with version 2 of my portable #steammachine based on #florianrenner ‘s awesome #gameboy1up concept… now onto version 2.5!
Improvements/changelog:
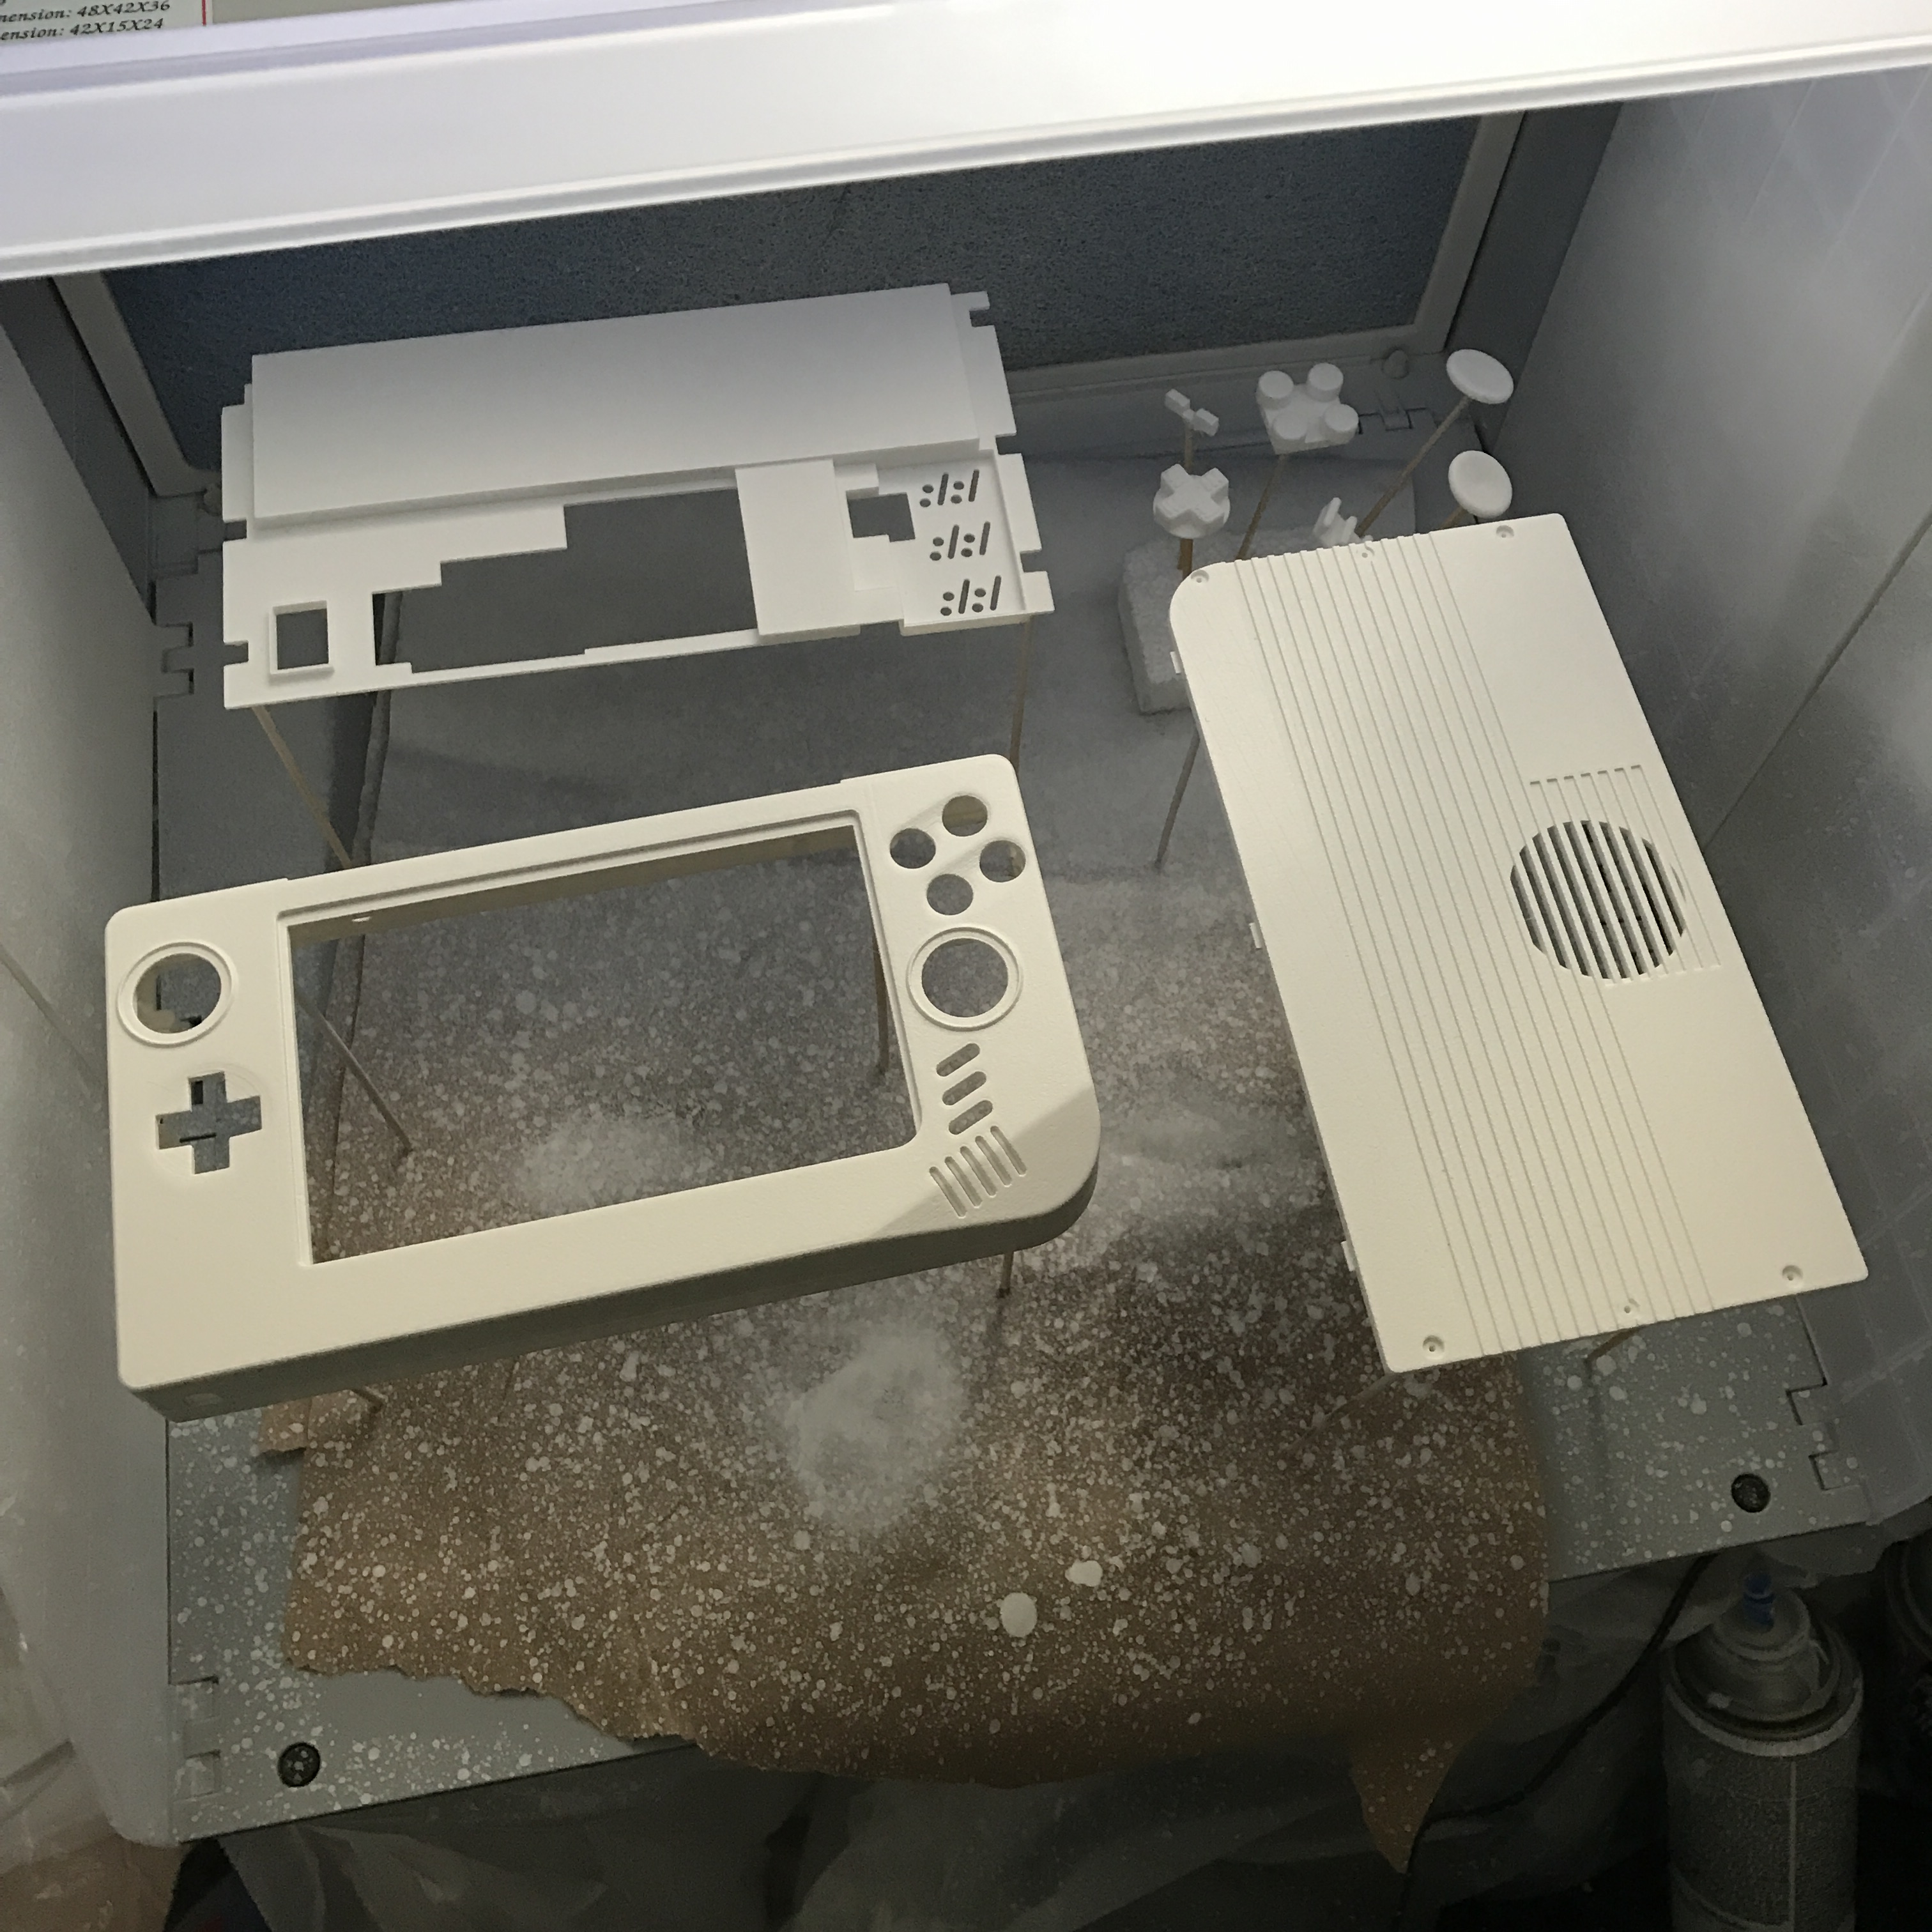
-Managed to shave off a 1/4″ in the depth and about 1/8″ in the length and width. Unit now measures: 7 3/4″ (197mm) x4 3/16″ (106mm) x1 1/32″ (26mm)
-Installed battery. Version 1’s battery never fit right.
-Xinput instead of Dinput using Zachery Littell’s ( @msf_reaper ) awesome library for the TeensyLC.
-Switch between mouse mode and gamepad mode using a key combination. Similar to the steam controller’s reptile mode.
-Replaced analog volume control with digital
-Buttons locations and sizes tweaked
-Used UV glue to bond the LCD plexi to the screen. Didn’t protect it enough so some of the glue got into the backlight
TODO:
-Clean up all mistakes on the case
-Add battery management logic, low power notification, etc.
-Continue to tweak button ergonomics
-Create a simplified version to house a raspberry pi and model
-Speakers, I usually use headphones with handhelds so this has been a bit of a lower priority
-Rumble motors?
-Paint the inside of the case a dark color and mask LEDs so they don’t shine through.
Screen size is driving the overall size of the case. It’s pretty large as is but basing it on 5″ doesn’t actually give you all that much volume to work with. I’ve been thinking of making a 7″ version of this which would allow me to use beefier hardware. I’ve got a M7 board that’s dying to get used. Still based around an @intel m3 processor.
#PortableSteamMachine8
#skelemask
Had a chance to revisit making a mask based on#skelevex . The challenge is scaling it up large enough to completely fit over my head without deforming it too much. As you can see, I tried quite a few scales. Ultimately I decided that it might work better as a face mask rather than a helmet. So now I’ve got a little Golgotha on a book shelf, or plenty of practice skulls should I want to take up phrenology.
Hacking the Moleskine Creative Cloud Connected Smart Notebook
Sketchbooks are a big part of my process (I usually bind my own to keep costs down and to recycle paper) and I was excited to read that through a collaboration with Adobe, Moleskine is about to debut their second line of smart notebooks and cloud connected apps (the first line being a collaboration with Evernote a couple of years ago) which in addition to deskewing, and fixing contrast through the app much like competing smart notebook/app platforms will allow you to send the resulting scan to Adobe’s servers for conversion to a SVG file. This file can then be imported straight into Illustrator CC or downloaded from Creative Cloud to be used offline. Video from Moleskine’s website.
Seems awesome and I’d love to give it a try but while the app, Creative Cloud storage, and the conversion are free the Moleskine notebook is about $35 and not widely available. Wanting to try this out for myself without having to wait to get my hands on one of the books I remembered Mark Evans had been able to make his own template sheet back when the original Evernote Smart Notebook came out. I set out to try and make my own for the second generation of Moleskine Smart Notebook.
I began by trying to determine the overall size of the marks and their position on the page. After having had found a pic of the book with an iPhone that was at around the same depth of field as the notebook page I was able to scale up the image in CAD and measure out the size of the crops. After that getting them onto a 5″ x 8.25″ sheet was pretty easy.
3.5″ x 5.5″
I really don’t use/make 5″ x 8″ books anymore and have gravitated towards 3.5″ x 5.5″ books for a while now so i thought i’d see if i could get this working on a smaller page. My first attempt was to simply replicate the same size crop marks at the same distance from the page margins on a smaller sheet. Doing it this way I was only able to get the app to recognize the crop marks if I took the phone pic from farther away. Far enough that the edges of the image got blurry thus defeating the purpose of the SVG conversion. It dawned on me that their app might be taking not only the location and relative size of the crop marks into account but their relationship to the overall page size. If that were the case it would make sense that the app would work if I pulled my phone far back enough that it seemed like I was really taking a picture of a 5″ x 8″ sheet of paper. In order to test the theory I scaled down the 5″ x 8″ sheet by about 50% which also shrunk down the crop marks and tried again with this smaller sheet.
New Game +
Just for kicks I thought I’d see if I could do something similar with the Whitelines Link system. This is a similar system though instead of SVG conversion Whitelines smartbooks and the companion app feature: deskew, contrast fix, auto tagging, and auto upload to Dropbox or Evernote. They also use a patented paper which features white lines on a gray background, when you take a pic of their notebooks their app algorithm removes the gray background leaving you with a completely white background devoid of guidelines. While I wasn’t going to try to get the gray background stuff to work I thought I’d see if I could get the system to recognize and upload my sheet as a proof of concept.
Turns out their crop marks which are closer to tiny QR codes act as a kind of DRM and the app knows i’m not using official Whitelines paper and refuses to scan.
All is not lost however, Whitelines sells a set of stickable code sheets for use with whiteboards. I was able to take these and shrink them down in CAD to a smallish (3/8″ x 3/8″) size and have the app recognize my paper as a whiteboard. Also for kicks I threw in the grid from the original Evernote Smart Notebook in there to see if it interferes with the scan.
New Year, new start…
At the moment this page has a presence on Facebook, Instagram and Twitter though I keep on getting asked if I’ve got a website for Specialization Is Overrated. I usually point everyone in the direction of the FB page but FB isn’t exactly one size fits all. This page is going to be the front end for blog-like posts as well as tutorials or any other in-depth analysis of what I’m working on and how I’m going about working on it. This past year I’ve finally gotten into doing some things on the Raspberry Pi and rediscovering Arduino’s and MCUs so I’m sure I’ll have a few posts on that as well as my old stalwarts, mask making and 3d printing. I’ve got a bunch of exciting things to document.
Happy New Year and I look forward to seeing you all in 2015!